This year I thought maybe we could shake it up a little bit and make a gingerbread castle rather than the usual house. Not the best idea. It took a lot more gingerbread (I tripled the recipe and used almost every bit of that amount) and a lot more time to build. It worked out in the end, but I will definitely ditch the castle for the next time around!
The royal icing I use to hold the structure together is practically invincible once it cures. As long as I can get things lined up and connected enough to hold I know we will be able to decorate it and load it in the car for a three hour trip with no concern. This stuff will make the walls stand together even if the lines don't quite match up completely. Little gaps suddenly don't matter.
I put it together and let it cure overnight.
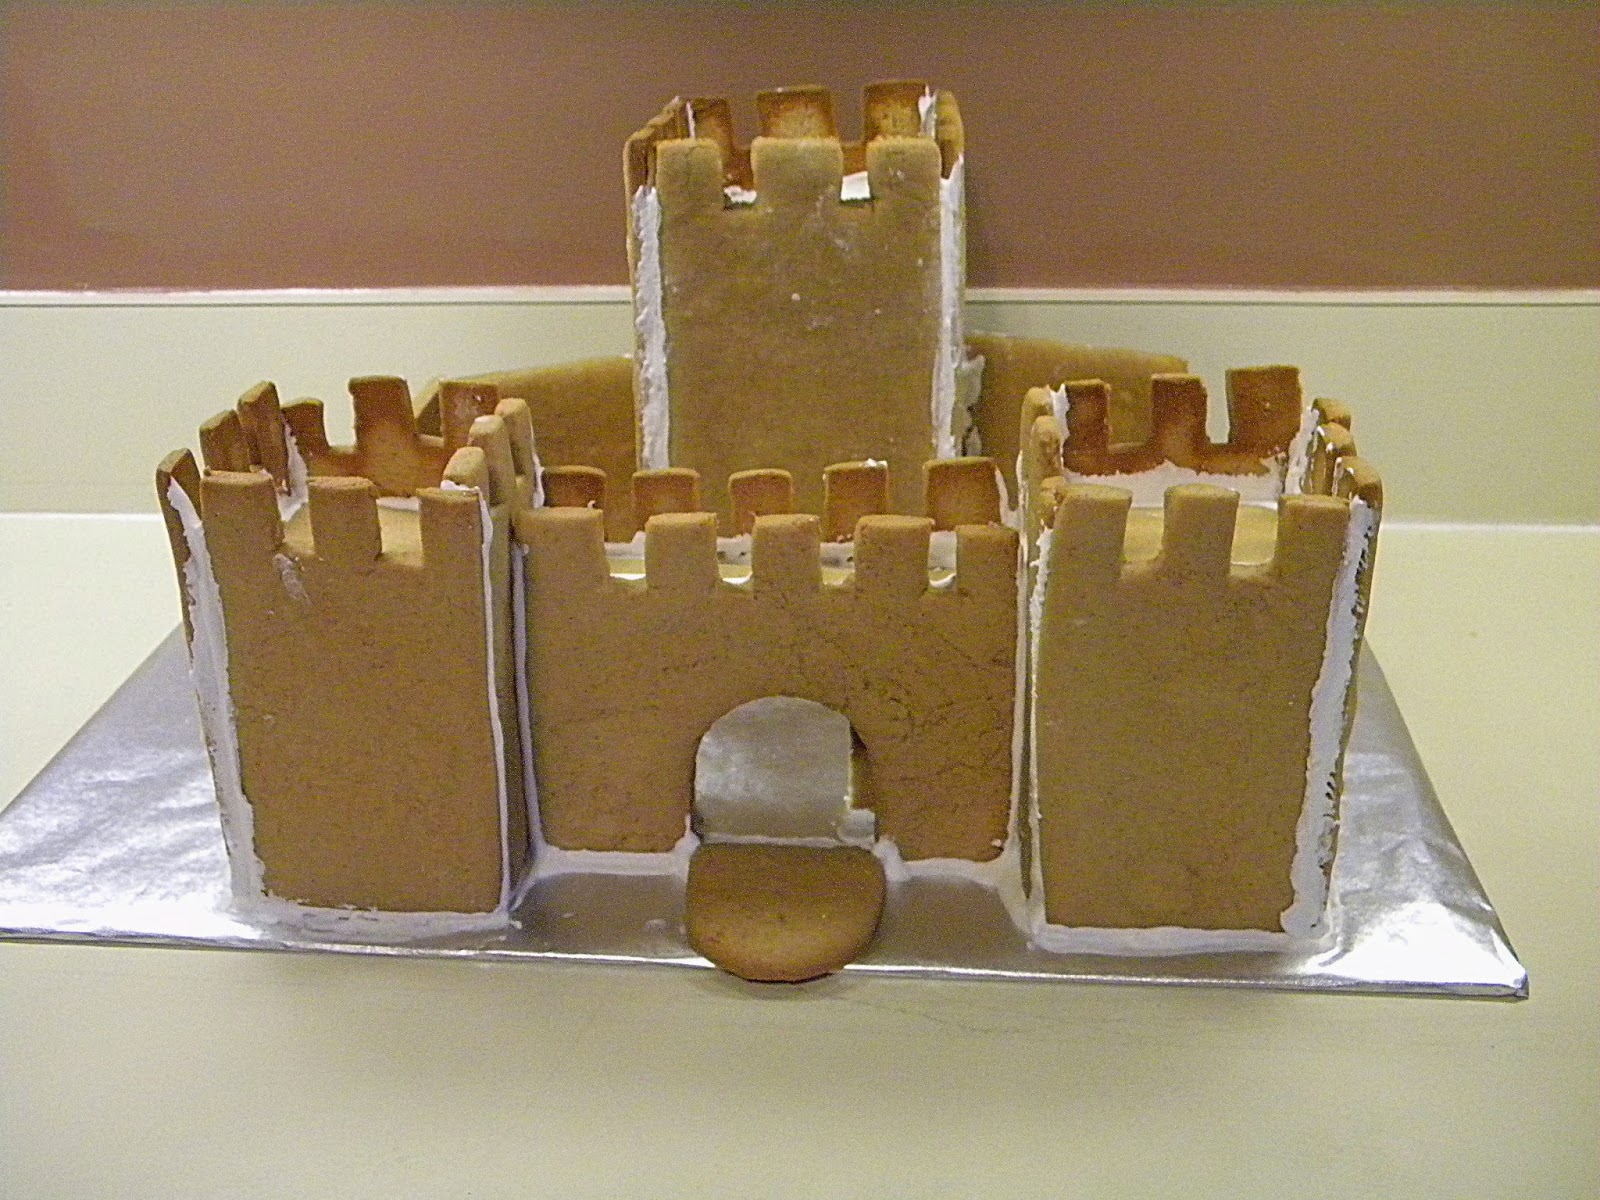
The next morning it was still standing, which was our cue to smother it in candy. Ben was the creative director - I helped him apply the candy toward the end but he was clear about what kind went on which wall.


Yikes. The finished castle weighed a ton. But Ben loved how it turned out and that was really all I was going for.

Want the recipe for the invincible royal icing?
Ingredients:
2 1/3 cups powdered sugar
1/2 tsp cream of tartar
2 egg whites
Directions:
Mix all of the ingredients in a large bowl and beat at a low speed until blended. Then beat on high until icing peaks form (this is when you can add food coloring if desired).
Use a decorating bag to pipe a line of the icing on each piece of gingerbread then connect and hold for several seconds. Be sure that joint is solid before moving to the next connection.
Two important keys for success:
1. It seems like it's too long, but put the mixer on high and walk away for about seven minutes. When you lift the beater out of the icing, it should take 10 to 15 seconds for any drips falling back into the bowl to get completely smooth again. If the icing isn't fairly stiff, it will be too thin and will be extremely frustrating when you try to put the structure together. If you think it might be too thin, beat on high again for another minute or two.
2. When you load the icing into decorating bags, cover any remaining icing by draping a damp paper towel over the mixing bowl to keep it from drying out.
No comments:
Post a Comment