Wednesday, November 11, 2015

Easing back in

Last weekend I finally spent some real time at the workbench just doing whatever I felt like doing - it was fantastic!  This year I haven't made much at all and I think the break was a good idea; I'm not selling at the show I've done for the last 14 years (I think?) because last year it felt like such a chore to get ready and I could tell I needed some down time.  I feel ready to start spending more time creating, though - and that's a relief.

Finally, some new pieces to show off!

Copper and sterling earrings with a heat patina, texture added in the hydraulic press:


Simple hammered sterling silver earrings:


Stamped sterling silver earrings that have been oxidized to bring out the details:


A couple of pairs of stamped sterling silver earrings - one long and one short:


And a keychain for Ben.  He's been asking me for one for almost a year so I finally finished it.  The copper was textured in the hydraulic press, the sterling is recycled and stamped, and a small sterling silver shot added to the center.  I made the stamp that creates the little triangle shapes with a masonry nail so it was fun to get to use it.


Thursday, October 15, 2015

It was really just a matter of time

Finally...baseball jewelry to wear to games.  These are really meant to be more fun than artistic - the baseball seams are held into the sterling pieces with epoxy in an effort to try to keep the stitching together and the pieces in the settings.  The leather is so pliable that the pieces become misshapen if I try to pull the bezel in around it so these have hammered 18g sterling walls around the edges.


As long as the soldering cooperates, these are pretty quick to put together.  I used an exacto knife to pull the leather off the baseball and a template to determine the size and shape of the cut outs.


I made the settings in sterling for earrings and a pendant and tossed them in the tumbler before adding the leather pieces.


The little touch of blue in the stamped letters on the pendant is from alcohol ink. 


I wore these to the final game of the ALDS and we won, so I've decided that means they're good luck.  Right?

I also made myself a keychain in copper.  I don't love it like I do this one, but it's fun.  Now I'm ready for the ALCS!


Thursday, September 24, 2015

Side trip: Midwestern wedding...a year late

Last weekend we went to the final sibling wedding for our big family and as I sifted through pictures and thought about a blog post I realized that this post has been sitting in my draft folder for just about an entire year.  So first thing's first...happy (almost) anniversary, Sara and Mike!

Last fall we went home for my sister's wedding.  My parents live in the country and it's proven to be the perfect venue for gatherings like this.  If you're planning a big event and you have access to a big house with lots of open space, why wouldn't you use it?

We are a family that chips in for these things.  A few years ago when my youngest sister got married, we all came together to contribute what we could. This wedding had all of the same elements that made for a great party - country setting, music and lights, mason jars full of cake and mason jar lights, handcrafted beer and a large gathering of family and friends. 

Photo by Hally Crangle

I made my sister's engagement ring and she asked me to create something with the same kind of turquoise for the groom to wear at the wedding.  We settled on a tie bar with the wedding date stamped on the back.


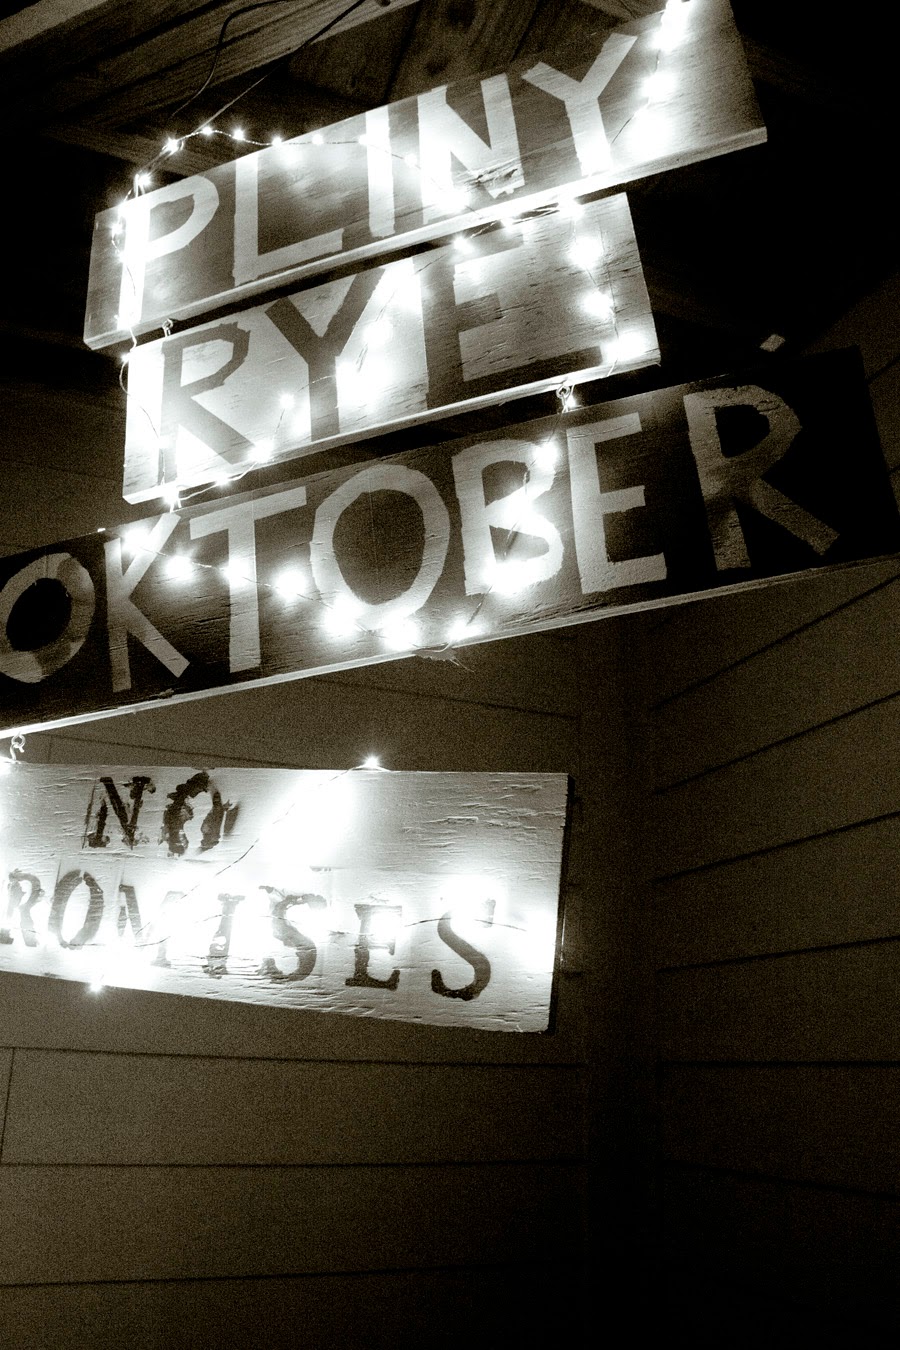
The bride and groom made the beer (and the signs - just painted plywood to hang up!) for the event and my brother made a large scale Jenga game that people played all evening long.  Another sister took fantastic pictures and everyone helped out with set up, food service and clean up. 


Friday, September 4, 2015

Side trip: zombie voodoo dolls

I planned to make some voodoo dolls to include in stress reduction kits I was putting together and thought: you can't make voodoo dolls that look like actual people...if they are for fun, they should be sort of cute and cartoonish. Since we are headed toward Halloween, what could be better than a voodoo doll that looks like a cartoon zombie?


These are really fast and easy to make and don't require measuring or perfect shapes, which makes me an immediate fan.

Here are the materials I used:
    • Gingerbread man cookie cutter
    • Felt - one square for each doll (plus scraps of other colors for embellishments)
    • Yarn or embroidery floss and a needle to hand sew with
    • Batting to stuff the dolls
    • Buttons
    • Push pins
    I traced around a gingerbread man cookie cutter for the general shape and used that for a template.  I cut out two gingerbread felt shapes for each zombie and then added the felt heart, button eye, and thread embellishments. 


    I hand sewed around the edges, stuffing the doll once I got almost all the way around and then closed it up.  I added a few push pins to the heart on each doll to finish them up. 


    Tuesday, July 14, 2015

    DIY metal stamps

    I'm exploring more texture options for metal. I've been able to buy a few high quality steel stamps that I'll use to frame some of my pieces, but those are hard to come by (an auction that is literally started and done in less than one minute) and take a large portion of my tool budget. (What tool budget??? I have no money to buy tools right now.)

    So I decided to try to make a few simple stamps myself. I really can't believe how easy they were to make...I'm sure that's due in large part to the fact that they are simple designs. The more complex designs must be much more time consuming and difficult to make. 

    I bought a pack of steel nails for about $3 at the hardware store, then heated the tips with my acetylene torch. 


    I let the tips cool for a while - dunking them in water would harden them and that's not what I wanted for shaping. 

    I sawed off the tip of the nail and drew a pattern on the flat head.  Then just shaped with files and my flex shaft until I got what I wanted, pausing to try it out along the way. 


    When I felt like I had what I wanted, I used the torch to heat the nails again but this time quenched them in water to help harden them.

    I'm really happy with how these turned out and am already thinking about other shapes I can make to add to my stamp collection.


    Saturday, May 30, 2015

    Crown hair accessories

    It's baseball season, which means I spend a lot of time thinking about my favorite team, the players, and their stats.  So I recently made a few crown accessories to go with my Royal obsession and wear to the games.


    I'm still trying to figure out what I keep and what to list in my Etsy shop.  I'm not sure anyone else would be interested in these things.

    I made the crown hair comb/hairpin/tiara by sawing out the crown shape, soldering on some textured wire, and giving it an oxidized finish for contrast.  I am ridiculously happy with this thing and can't wait to wear it to a game.  (Figuring out how exactly to wear it is my next task.  I may end up pulling the sticks straight...it all depends what works best.)


    I also made a couple of teeeeeeeeny tiny crowns to run a bobby pin through and wear.

    Here they are during fabrication; I tried a couple of little loop designs for the pins to go through. They both work!


    And here is one of them attached to a pin.  See?  Tiny.


    Simple coin bracelet

    Several years ago my sister gave me some coins from her stint in the Peace Corps in Ukraine.  At the time, I didn't have a drill press to properly drill a hole through any of them and every time I considered bezel setting the coins I didn't like how it looked. So I set them aside and sort of forgot about them.

    After tinkering with the Roman coins, I started searching through my piles and finally found the coins again.  I ended up with a simple cold connection to add the coin to a sterling bracelet.


    This should be tough enough for everyday wear - I soldered the links for strength and since it's entirely made of metal it doesn't need any special care.  (I have a special hatred for soldering links, but sometimes it has to be done.)


    I like the copper rivet with the coin and the sterling - maybe there are more of these in my future.


    Thursday, April 23, 2015

    Ring remodel

    This ring request has a great back story.  I don't actually know the people involved so I'm going to cut through all of the descriptions and just make it simple: when a guy asked a a girl to marry him, he gave her a token ring with the intent that she help pick out her own engagement ring. She wanted to preserve the placeholder ring and asked if I could remodel the ring in sterling silver.


    The placeholder was somewhat flimsy; it was adjustable and I'm pretty sure it was made from aluminum.  She asked if I could take out the 9mm bullet casing and set it in silver.  I'm always a little nervous about things like this because if I'm not sure what the metal is or how the setting is attached, I could end up destroying the ring trying to get it apart.  I gave the usual warnings but she wanted me to try it anyway.


    It was actually no big deal to get the setting out...I just pried it out.


    I made the new ring with sterling silver half round wire and 24 gauge sheet.  I love how it turned out!


    Tuesday, April 14, 2015

    Ukrainian trident pendant

    After many (many!!!) attempts to make this pendant, I finally sent it out this week.  Piercing isn't something I do a whole lot so it's painstakingly slow and figuring out the right gauge metal to use doesn't always happen on the first try.

    I made this for my brother in law.  The trident is a national symbol of pride and the shape makes out the letters ВОЛЯ, meaning "freedom."  Sometimes it appears on the flag, although not in an official sense. The symbol is yellow and the background blue like the colors of the flag, so I tried to mimic that the best I could by heavily oxidizing the silver and using copper for the symbol. 


    ВОЛЯ: "В" on the left side, "O" in the middle, "Л" (in cursive this looks like a cursive "L" in English) is the top part of the middle, and "Я" (backwards R) on the right side. 
     

    Here are some process pictures of the pendant coming together...see the other one in the background?  I eventually melted that one.  Others fell victim to piercing or sanding issues.


    I'm incredibly happy with how this came out - I love being able to make meaningful things for people I care about.